15 YEARS OF SERVICE

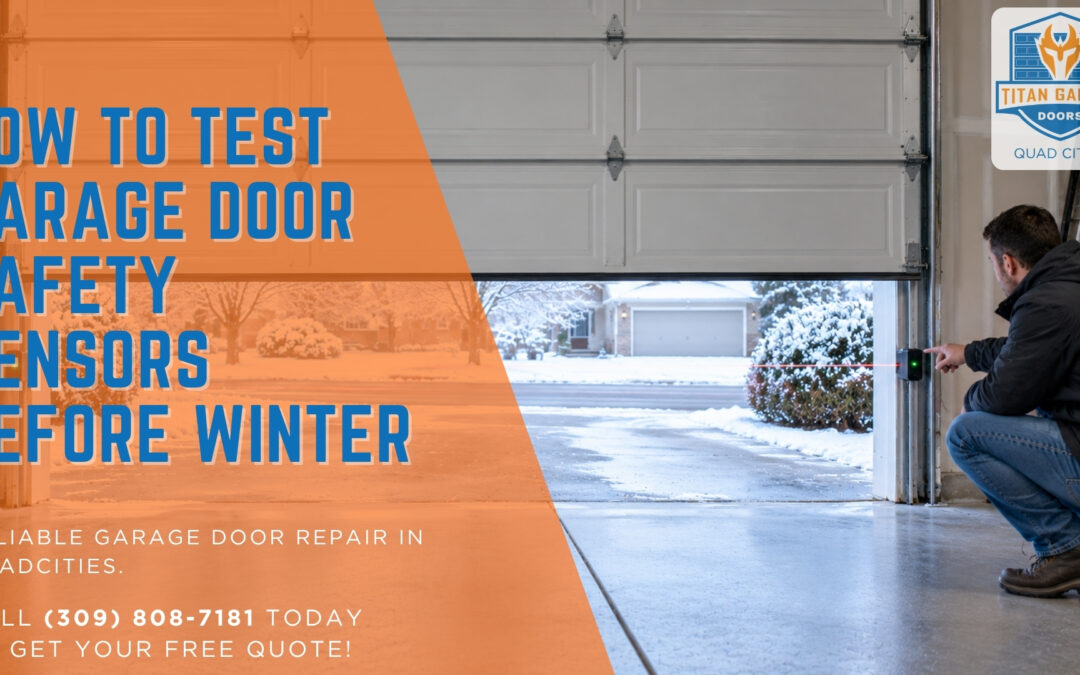
Your garage door seems fine until it refuses to close. The opener hums, the remote responds, but the door either reverses instantly or won’t budge at all. In many cases, the culprit is the garage door sensor. These small devices near the bottom of the tracks are designed to protect your family, pets, and belongings by stopping the door if something blocks its path.
As winter approaches in Moline and the Quad Cities, it’s the perfect time to test them. Cold weather, cluttered garages, and tracked‑in moisture can all interfere with sensor performance. A quick check now ensures your garage door closes safely and reliably when you need it most.
Start With a Quick Garage Door Sensor Check
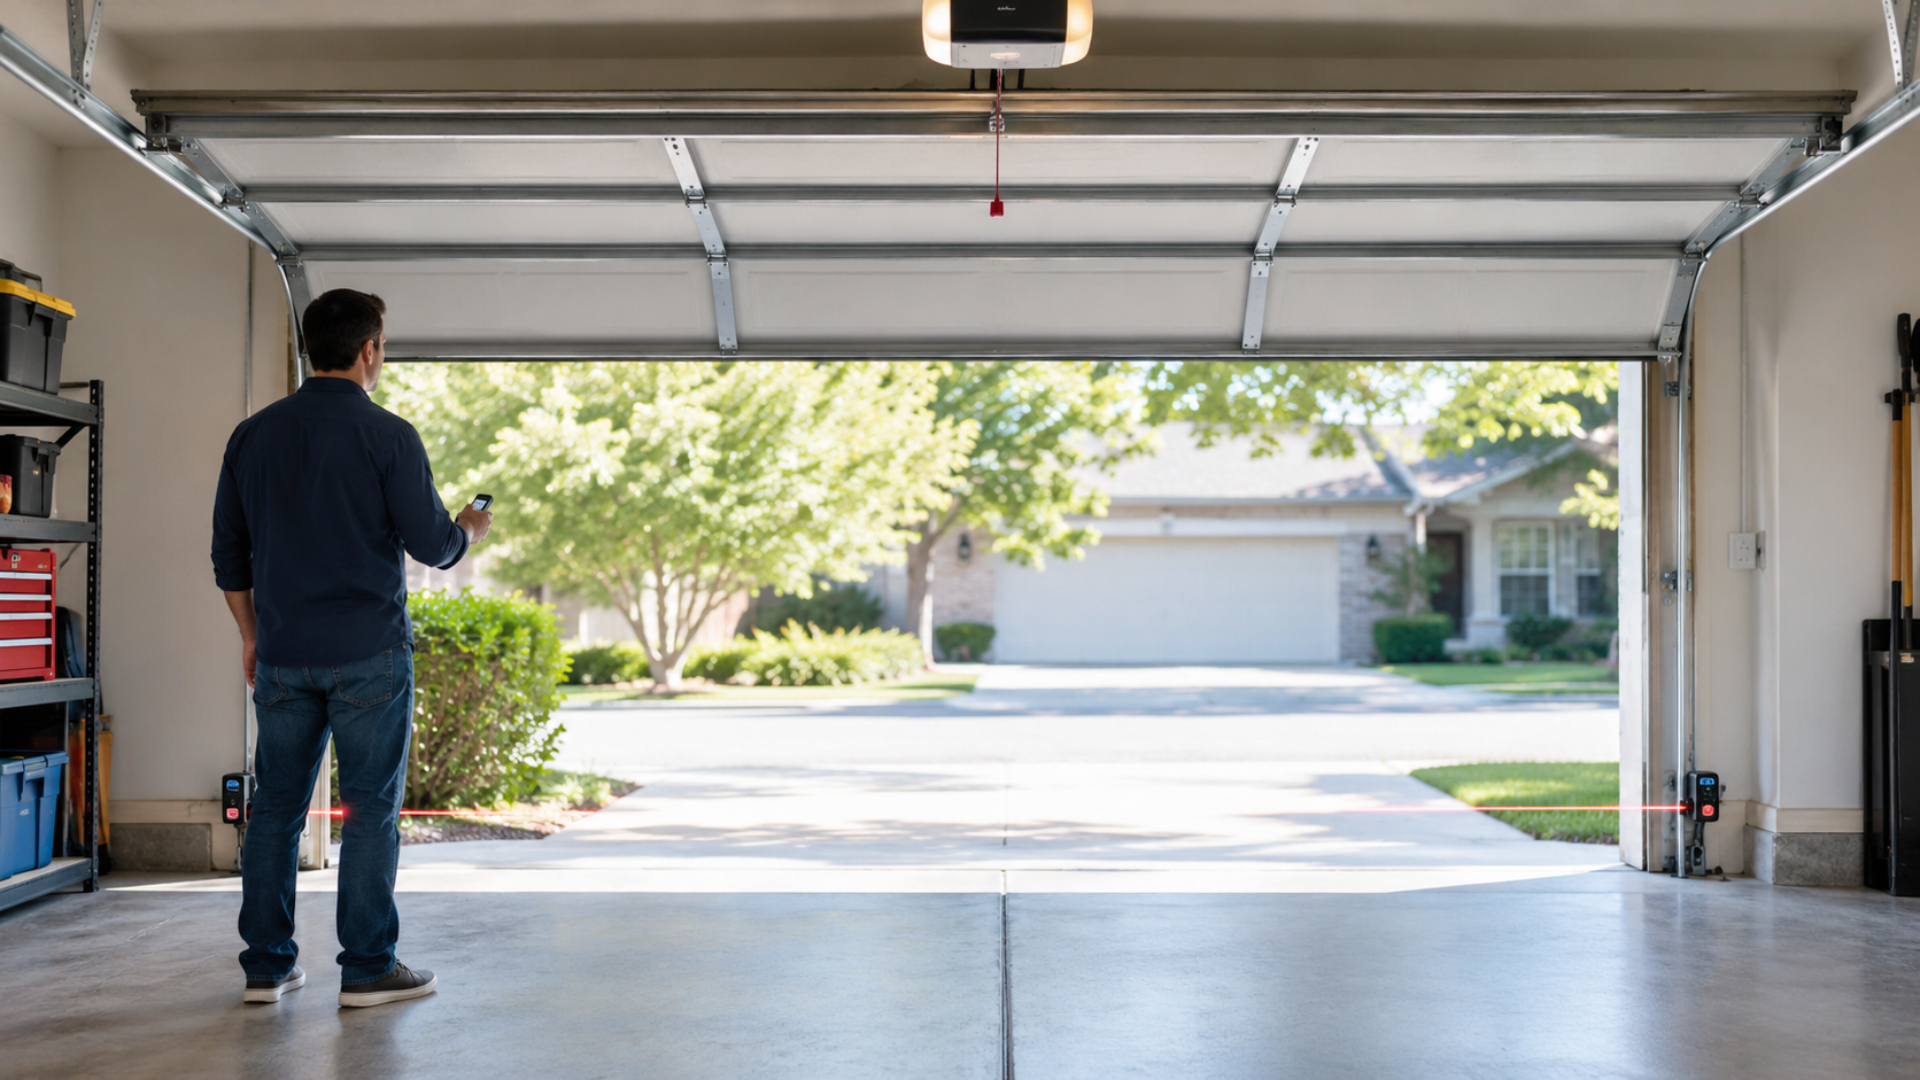
Before testing the door, look at both sensors. You will usually find one on each side of the opening, mounted close to the floor. They face each other across the width of the garage.
First, move boxes, tools, leaves, and other objects away from the area. Then look at the sensor lenses. Are they covered with dust, cobwebs, or grime? Clean dirty lenses gently with a soft, dry cloth. However, avoid pushing or twisting the sensor while you clean it because even a small change in position can affect alignment.
Next, look at the indicator lights. The exact light pattern varies by opener, but a light that is off, blinking, or behaving differently from the opposite sensor may point to an obstruction, alignment issue, wiring problem, or loss of power.
Once everything looks clear, you can move on to the actual test.
How to Test a Garage Door Safety Sensor
You do not need to take the opener apart to perform a basic safety check. The goal is simply to confirm that the door responds when something interrupts the sensors’ path.
Step 1: Open the Garage Door Completely
Start with the door fully open.
Take a moment to make sure the opening is clear. Keep children and pets away while you perform the test, and do not stand directly underneath the moving door.
If the door already moves roughly, hangs crooked, or has another mechanical problem, address that issue before concentrating on the sensors.
Step 2: Place an Object Between the Sensors
Put a solid object in the path between the two sensors while the garage door remains open.
A cardboard box works well because you can position it in the opening without putting yourself under the door.
The object needs to interrupt the invisible line between the sensors. You do not need to touch either sensor.
Step 3: Try to Close the Garage Door
Use the remote or wall control while standing clear of the opening.
With the sensor path blocked, the door should not continue closing normally. Depending on the opener, it may refuse to move downward or begin closing and then reverse.
If the garage door continues toward the floor despite the blocked sensor path, stop using the automatic opener and arrange for service. The garage door safety sensor system may not be responding correctly.
Step 4: Remove the Object and Test Again
Remove the box and make sure nothing else blocks the sensors.
Try closing the door again. If it now closes normally, the sensors recognized the obstruction during the first test and cleared the door once you removed it. That is the response you want to see.
If the door still refuses to close, you likely need to do a little more garage opener troubleshooting.
What to Check When the Garage Door Sensor Test Fails
A failed test does not automatically mean you need new sensors. Several simple issues can interrupt the signal. Start with the things you can inspect without opening electrical components or changing opener settings.
1. Clean the Sensor Lenses
A dirty lens can interfere with the beam between the sensors.
Dust and cobwebs are common, especially in garages where the door stays open during yard work or home projects. In fall, leaves and debris can also collect around the bottom corners of the opening.
Wipe both lenses carefully and test the door again.
2. Check for Something Blocking the Beam
Look across the floor between the sensors.
A broom, trash can, bicycle tire, snow shovel, extension cord, or storage container may sit directly in the sensor path without looking like an obvious obstruction.
This becomes especially relevant when homeowners reorganize the garage before winter. Moving summer equipment into storage can accidentally put something right in front of a sensor. Clear the area and repeat the test.
3. Look for a Sensor That Has Shifted
Both sensors need to face each other.
A trash bin, lawn mower, shovel, or even a bumped storage box can knock one slightly out of position. You may not see obvious damage, but the sensor can lose its connection with the one across the garage.
Compare the two. Does one appear twisted, tilted, or noticeably different from the other?
Avoid repeatedly bending the bracket or forcing the sensor into position. If alignment is not obvious, a technician can correct it without creating another problem.
4. Look for Visible Wiring Damage
You can also inspect the visible wires leading from each sensor.
Look for loose connections, cuts, pinched sections, or damaged insulation. Do not pull on the wires or attempt electrical repairs if you are unsure what you are looking at.
If cleaning and clearing the sensor path do not solve the problem, damaged wiring may be one reason the opener still refuses to close.
What Different Sensor Symptoms Can Tell You
You do not have to diagnose the opener yourself, but the way it behaves can give you useful information to share with a technician.
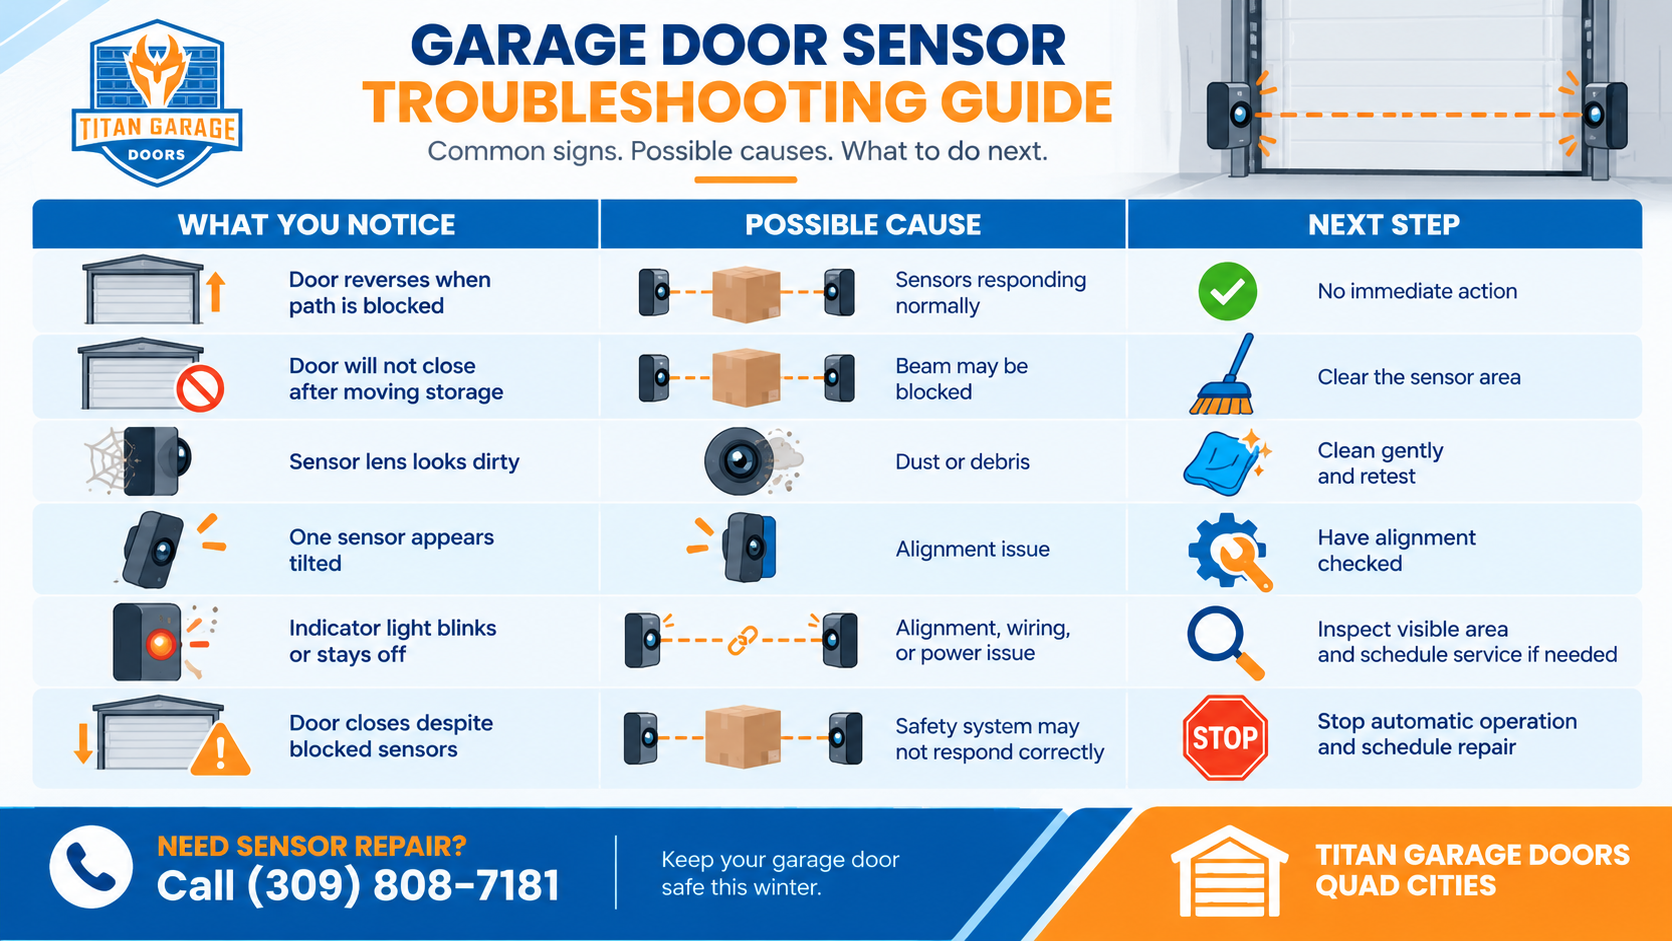
The indicator lights and behavior can vary between opener brands, so do not rely on light color alone. The obstruction test gives you a better idea of whether the safety function actually responds.
Why Test Garage Door Sensors Before Winter?
Winter preparation usually focuses on weather seals, lubrication, and keeping cold air out of the garage. The safety sensors deserve attention too.
Around Moline, colder weather changes how many families use their garages. Bikes and lawn equipment may move into storage. Snow shovels, boots, salt, and other winter supplies start taking up space near the door. That rearrangement can put objects close to the sensors or knock one out of alignment.
Testing before winter gives you time to catch a problem while the door still works rather than discovering it on a cold morning when you are trying to leave the house. It also takes only a few minutes.
When a Sensor Problem Needs Garage Door Opener Repair
Cleaning the lenses and removing an obvious obstruction are reasonable homeowner checks. Beyond that, repeated troubleshooting can become frustrating quickly.
Schedule garage door opener repair if the sensors remain unresponsive, will not stay aligned, show visible wiring damage, or continue preventing the door from closing even though the opening is clear. You should also call for service if the door closes when the sensor path is blocked. That points to a safety function that needs professional attention.
A technician can determine whether the problem comes from sensor alignment, damaged wiring, failed sensors, the opener, or another part of the system. That diagnosis matters because replacing sensors will not fix a wiring or opener problem.
Garage Door Sensor FAQs
How often should I test my garage door safety sensors?
A periodic test is a good habit, particularly before seasonal changes or after something bumps a sensor. You should also check them whenever the door starts reversing or refusing to close without an obvious reason.
Why does my garage door close only when I hold the wall button?
That behavior can point to a safety sensor problem on some opener systems. Check for an obstruction and inspect the sensor lights, then schedule service if the problem continues.
Can sunlight affect a garage door sensor?
Direct sunlight can interfere with some photo-eye sensors. If the problem appears mainly at a certain time of day, mention that pattern when you schedule service.
Can I use my garage door if one sensor is not working?
Do not bypass or disable the safety sensors to keep using the automatic opener. If the system cannot respond properly to an obstruction, have the problem repaired.
Do bad sensors mean I need a new garage door opener?
Not necessarily. The issue may come from alignment, wiring, dirty lenses, or the sensors themselves. A professional inspection can determine whether the opener actually needs repair or replacement.
Make the Sensor Test Part of Your Winter Garage Check
A working garage door sensor is easy to overlook because you rarely notice it until something goes wrong. Testing it before winter gives you a simple way to confirm that the door responds when an object blocks its path.
Clean the lenses, clear the area, perform the obstruction test, and pay attention to how the door reacts. If something does not seem right, avoid bypassing the sensors or repeatedly forcing the door closed.
A few minutes of checking now can save you from dealing with a garage door that refuses to close when winter weather arrives.
Book Garage Door Sensor Repair Before the Door Stops Closing Safely
If your safety sensors fail the test, keep losing alignment, or prevent the door from closing even when the opening is clear, Titan Garage Doors Quad Cities can help.
Our certified technicians provide garage door opener repair and sensor troubleshooting for homeowners in Moline and surrounding Quad Cities communities. We can inspect the sensors, wiring, alignment, and opener to identify what is actually causing the problem.
Call Titan Garage Doors Quad Cities at (309) 808-7181 to schedule free estimate to make sure your garage door can close safely before winter.